Monday, January 20, 2014

School Days Jacket

At a Fabricland sale about a year ago, I spotted pale pink Melton wool and immediately thought about making Oliver + S pattern School Days Jacket.

While I've made this pattern before as a sort of test run, it's taken me a whole year to make it using the fabric I bought on sale.


For the lining I used a product called Kasha.  It's a flannel backed satin that quite thick but not too heavy.


Like all Oliver + S patterns it was easy to make because of the detailed instructions and the outcome was professional looking.
Although it would look a little more professional with a touch up on the sleeve with an iron!


Right now it's -20C and I don't think this wool jacket even with the flannel backed lining would be warm enough.  When the weather gets warmer and hovers around 0oC, then this jacket will be a welcome change from a down filled snowsuit.


Like the jacket I made before, I used toggle closures.
On the previous jacket I made the cording longer so the front placket sat flat.  By doing so, the toggles kept coming undone.
This time around I cut the toggle cords the length called for in the pattern and while the front placket buckles a little bit, they don't come undone.


 I finished the sleeve hem differently from the pattern instructions.

On the outside, I turned up the sleeve hem and the lining hem (as it would look when finished) and put in one pin to hold it in place.
Then I put my hand up between the lining and the outside of the jacket and pulled the sleeve through.....


...and with the sleeve inside out and finding the pin, repinned the hem so that right sides were facing each other.


I was able to stitch all the way around the sleeve hem....


....and that gave it a nice finish.


Turning the Oliver + S book 'Little Things To Sew', I made some mittens to go with the jacket.

I added 1 inch to the mitten hem and using scraps of melton wool, made an Inuskuk design on the front.


An Inukshuk is usually made of stones or boulders in the Arctic to point the way for hunters or travellers to keep them from getting lost.

My Inukshuk mitts are pointing the way too in the deep snow.


I am pleased with the outcome of this jacket.  It's size 5.


Saturday, January 11, 2014

Secret Agent Lab Coat

A wonderful activity for children is playing dress-ups. Whether it's a princess, a mermaid, a doctor, a knight....you name it, it's fun to put on an outfit and pretend.

One dress-up item I made recently was a lab coat using Oliver + S pattern, Secret Agent Trench Coat.
It was a perfect choice to use because like a real life lab coat, it can be worn over layers of clothing. Or even a jacket if perhaps, let's say, you were going to make a house call to your backyard playhouse.


The fabric is an old heavy cotton table cloth.  After many washings due to wine stains from too many dinner parties with raucous guests  stains here and there, it shrunk.  I kept it though, planning to make some dinner napkins.  In the end, it turned out to be the perfect weight for a playtime lab coat. It's not too thin and not too heavy. And since it's repurposed fabric,  it doesn't matter if it gets trashed from being worn in a sandbox or at the lunch table with lots of dripping ketchup and mustard.

I left off the belt, sleeve cuffs and shoulder flap from the pattern.  I kept it double breasted but simply made one row of bright red buttons.
There are two big patch pockets, one has a felt red cross stitched on it.
Using my embroidery machine, I stitched her name.  I could have used a red Sharpie, or hand embroidered her name for this task but the machine was handy so went with using it.


She loved the lab coat and her first patient was her brother.....


Then she became a vet and checked out Bunny.......


....and the owner was thrilled to have Bunny back and in good health. (Too bad the owner isn't wearing pants.)


No task is too small or too big for this amazing doctor!


Thursday, January 9, 2014

School Photo Dress sew-along

There's a sew-along for the School Photo dress on the Oliver + S website, hosted by a sewing friend, Sharon. 

She did an excellent job describing all the steps with accompanying photos. Thanks Sharon!

It's been a while since I made the School Photo dress and because there's no time like the present, well, I made one during the sew-along.

The fabric a poly blend wool type micro check and the colour is egg yolk yellow and white.  Perfect for spring.

Size 5.  Lining is off white batiste.


The dress has a 60's Jackie Kennedy vibe to it, at least that's how I interpreted it the last 3 times I made this pattern.

First time around the dress looked like this:

For the second one I found some totally awesome thick polyester 60's fabric.


If I had found Go-Go boots for a toddler, I would have bought them to go with this dress.


The 3rd time around I used a complementary collar and cuffs. Totally a Jackie Kennedy look, I think.


For some unexplained reason, I need to put buttons down the front of the dress. As per usual there is piping: for this dress it's on the yoke and cuffs.


Initially, I was planning to make this dress in pale pink faux suede. Maybe it's called moleskin or microsuede. I'm not sure.
Anyway, we were in the midst of a week long blizzard and accompanying squalls and I couldn't get out to get a matching pink invisible zipper nor microtex needles.  Having a white zip and some spring like fabric handy, I went with this instead.

The weather has cleared but the roads not so much. Therefore, it's a perfect day to stay at home and get some outdoor photos of the fauna ... it's too early for the flora!


Sunday, January 5, 2014

Collection completed again!

Yay!
I've made at least one view of ALL the Oliver + S patterns, including the free children's wear downloads.

The Library dress is the last one I needed to make to reach my self imposed milestone.


Using leftover wool that I used for the Art Museum Vest and Trousers pattern I made size 5 of View B from the pattern.

For the collar, I put a layer of organza over satin as I wanted a somewhat dressy look.  The dress has a Japanese vibe because of the obi belt style waist so grey wool and a shiny collar seemed a bit of an odd choice, but I like the outcome.


I've been struggling with buttonholes for years, no, decades.  I used to blame the machines yet deep down I know it's the operator.

This dress calls for 6 buttons down the back so fear and terror set in while setting up the machine for buttonholes.

In a recent conversation with Emily from FrancesSuzanne, she reminded me about Fray Check.  Nicole always does her buttonholes twice.  
Thinking about stitch density I set the machine length to 0.2 and with to 4.5. 
Then I used a buttonhole chisel instead of ripping (which may fray the fabric) or cutting (which might cut the stitches).  Lastly, I dabbed the neat opening with Fray Check.

Guess what?

Perfect buttonholes!!!


I really enjoyed making the Library dress.  The instructions were clear and straightforward. Because organza over satin isn't exactly pliable, the cuffs didn't turn out as well as they should have.

Next time around I would like to try out some mods on this pattern.  I really like the pleats on the skirt portion, as well as the sleeve cuffs. So I'm wondering what the bodice might be like just plain with a small Peter Pan collar?
On the other hand, the obi belt-style waistband and cross-over bodice is the main attraction for this dress, so perhaps simply experimenting with other fabrics would be a better idea.

Overall, I do love the Library Dress.


I can see this grey wool dress paired with white tights and red Mary Janes.


The local Blue Jay's might suggest also creating a peanut laden Fascinator.


Oh, and the white flecks is snow falling.  30cm expected over the next couple of days to add to the already 190+cm that's fallen so far.  Perfect weather to stay indoors and sew!

Thursday, January 2, 2014

Playtime Dress & Leggings

It's so cold outside, even too cold to bother blowing snow, so I decided it was a good excuse to stay indoors and sew.
I made the Oliver + S pattern named Playtime Dress and Leggings.

It calls for topstitching the facing to create the image of a collar, pockets outline and stitching to highlight hems.
Instead of plain topstitching, I decided to use the quilt stitch on my machine.  On the test sample it looked and worked just fine. However when it came to stitching on the dress, well, it didn't work just fine. And where is it most noticeable? Why, right on the front of the collar, of course. Gah!


The leggings worked up lightening fast with out stitching issues.


Using a strip of legging fabric, I made a detachable little rosette for the dress.


Also, I made a fascinator hairband.  Every little girl needs fancy hairpieces I think.


So here is my efforts for a cold day: dress, leggings, rosette and fascinator.  The dress is size 5 and it looks rather limp hanging on the size 2 dress form.

It's -27 oC outside when I took these photos and my fingers started to freeze.  It's impossible to click a shutter wearing gloves.


So I came indoors to get a photo of the back of the dress and defrost my hands in front of the fire.

The buttonholes didn't work out very well on the fabric; ponte de roma knit.  When I cut open the hole, most of the stitching came out too leaving a fluffy, frayed opening. I hand stitched the threads back in place, however I'm not very happy with the outcome of the buttonholes.


The dress and leggings are both size 5. 

The pattern was very easy to make with only the topstitching being somewhat time consuming.

Thursday, December 26, 2013

Art Museum Vest & Trousers


Finally! I have a photo of Mr. A wearing the Art Museum Vest and Trousers (Oliver + S) pattern.

Here he is wielding a screwdriver belonging to a workbench he got for Christmas.


The trouser leg hems need to be turned up. The measurement I was given over the phone wasn't accurate.   Also the waist elastic should be taken in about an inch.
Easy fix.


The back and lining worked well with his tie.

Lucy is sporting her new collar with iconic Hudson's Bay Company stripes.


Mr. A looks really dapper in this outfit and I plan to make more from this pattern. I've got some more suiting fabric washed and ready to go.


He wore this outfit several times over the holidays - long hems and all - but that didn't seem to stop him.
Party on dude!


Saturday, December 21, 2013

Snow-bound sewing.

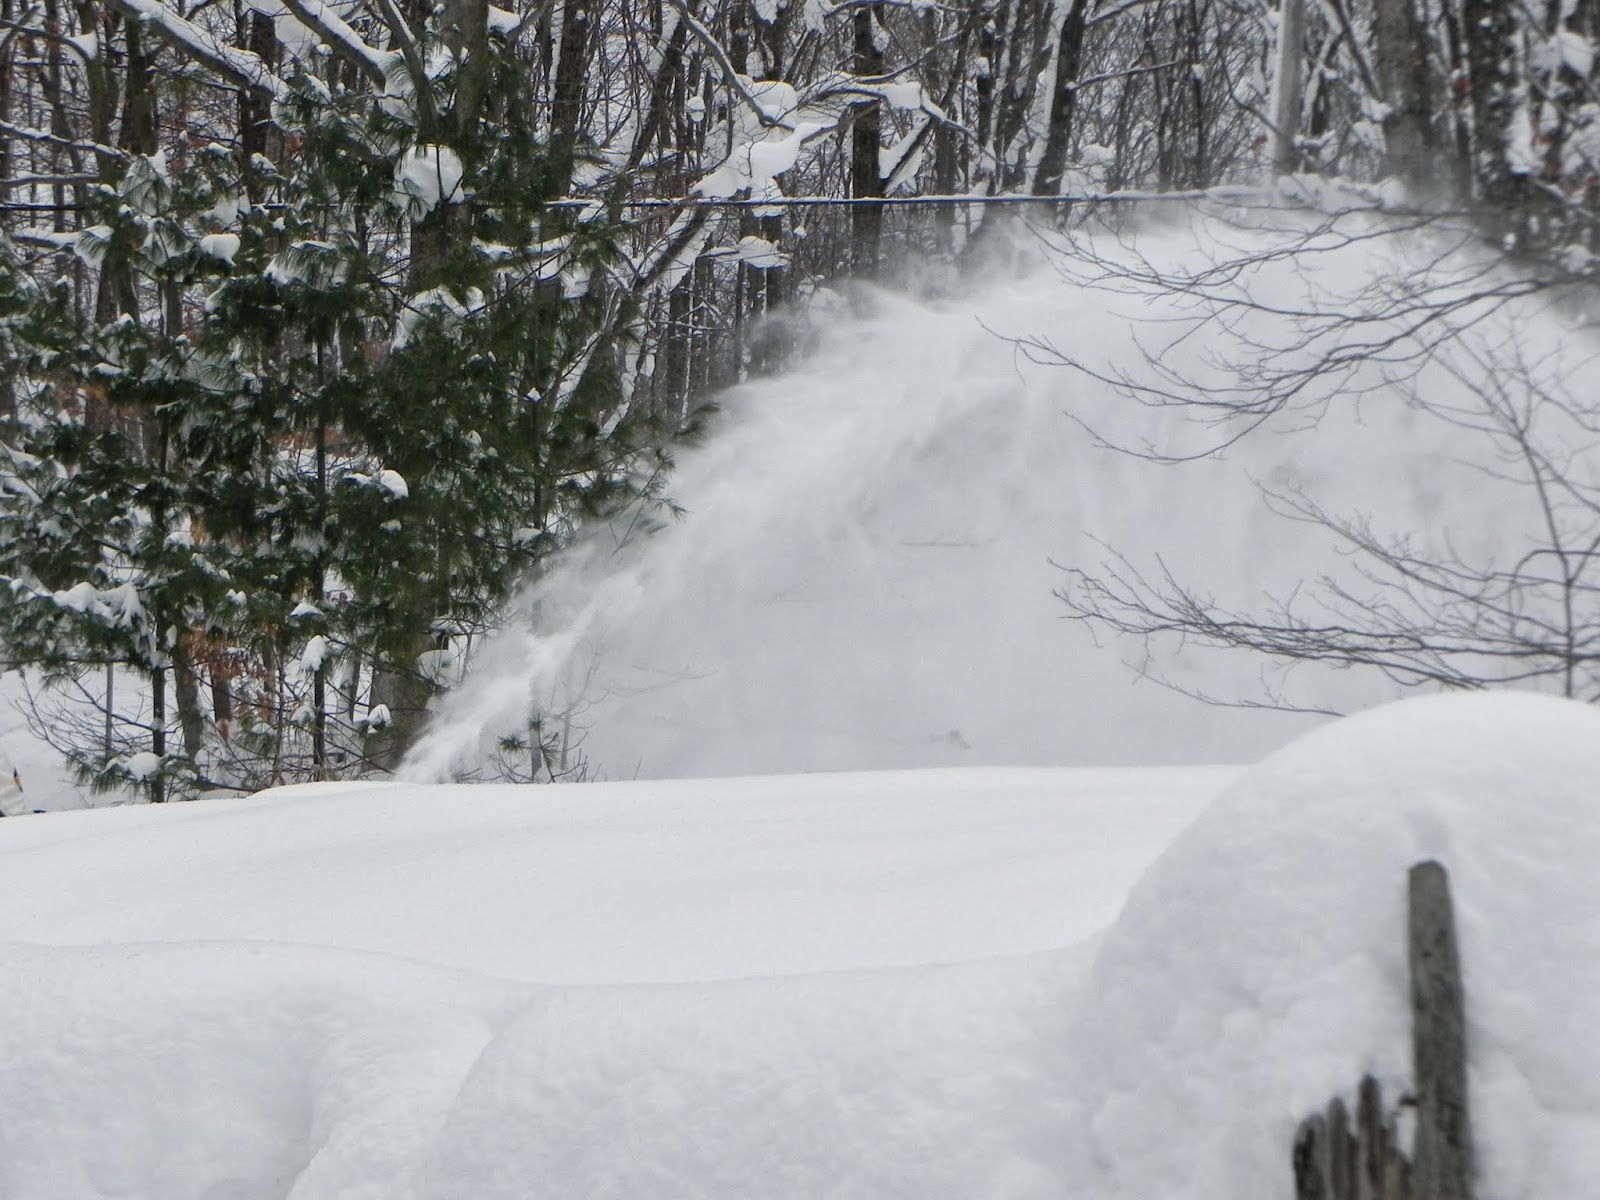
We've received an unusual amount of snow over the past few weeks. Venturing out driving has been treacherous due to white-out conditions, and some roads have even been closed.   Usually around this time of year we are wringing our hands wondering if we'll get a white Christmas. Not this year.

So I'm taking advantage of being grounded and in between clearing snow, I've been sewing.

Here's what I've accomplished:

Three pairs of Bedtime Story Pajama's (Oliver + S pattern) I bought the fabric for $4/meter and while the fabric print isn't my first choice, the price tag was!  They are all size 2.

The pocket doesn't look straight in the photo, but it is in real life. Photography and staging photos is not my strong point.


I couldn't find navy buttons in my stash but the yellow ones seem to work.


The brown bear fabric was $2.50/m but since there wasn't quite enough for the jammie top, I had to get some off white flannel and trimmed it with the brown.


Miss C. really enjoys playing dress-up. Many of her costumes are too small, so I thought I'd make up a bunch of new ones as a Christmas  gift.

From Oliver + S book, Little Thing to Sew, I made a peacock coloured tutu. For the waistband tie, I found some silk dupioni in my stash and it worked perfectly in place of ribbon.

The air is so cold and dry right now giving the tutu a bad case of static cling. The tulle is flying off in all directions and the silk on the waistband isn't co-operating either.


I also made a matching hairband using scraps of tulle and peacock coloured feathers.


She also likes playing doctor/nurse. She spends so much time at the clinic with ear aches and chest infections that acting out someone in the medical field is a natural for her.

I used the Oliver + S pattern Secret Agent Trench Coat.  The fabric is from a cotton table cloth that shrunk after several washings and no longer fits my harvest table.

I set up my embroidery machine to stitch out her title on the coat and on one of the patch pockets used felt for the red cross.

The pattern is double breasted but I didn't make it a single thinking she might wear this outdoors over a jacket.


When William and Kate got married, Miss C was spellbound. Her mom bought her a veil that's attached to a hairband and she wears it quite a lot.  Therefore,  the veil needs a bride outfit!

She likes to dress herself, so made the bride outfit that was easy to get on and off.
For the top I used a peasant style top that is a free download pattern from here.  I attached some lace  down the front and fortuitously found some diamond looking buttons to add some bridal bling.

The skirt was based on the Lazy Days skirt pattern, only long, and with lace attached at the hemline.


Thinking about a maids outfit, maybe something Cinderella might have worn housecleaning, I found this remnant fabric: 2 meters for $3.50.  Sold!!

Using the same peasant blouse pattern as above, I simply added long sleeves.  For the skirt, I used the skirt portion from the Tinny pattern, cutting it longer and adding a frill of satin fabric leftover from a flower girl dress I made for her mother's wedding.  

The skirt will twirl which is what a maid likes to do whilst sweeping. At least, that's what I do when I sweep.

I felt the outfit needed a corset, you know, to tie it together. :) 
Using some off white silk dupioni, I applied random stitches using decorative threads and then put in grommets. I could only find rat-tail cord in my stash to lace the corset but I plan to change that to something less slippery. 


I'm glad I found a use for the stash of decorative threads I have but need to experiment more with dress-ups-corset making.


Last up, at least for now, is this hideous looking princess dress that's got a bad case of static cling like the tutu.

It's size 6 hanging limply on a size 2 dress form. It's big enough to fit over indoor or outdoor clothing.....maybe even a parka ...plus it's pink and sparkly to suit the taste for a 4 year old.

I could have done a better job sewing this, but my heart wasn't in to bubblegum pink satin - neither was spending time to get a decent photo!   

Overall, dress-up items get well used and abused. They usually end up getting covered in dirt and sand from being worn outdoors as well as getting covered in food stains. So I never spend much money or effort making dress-up clothing.


Well, that's it for my sewing.  

The cottage needs to be readied for the onslaught of Christmas guests, baking needs to get done, and most urgently, more snow has to get cleared.


Merry Christmas from my little corner of The Great White North